Some time ago a friend of the project, Gustavo Agüero, published a post on his blog in which he explained how gvSIG generate a polygon from a bearing (or route or course). We found a very interesting exercise and with its help we implemented a script to undertake the same steps in gvSIG 2.0. The result is explained in this post.
We want to clarify that all the merit of this exercise is to Gustavo and the errors are because of our ignorance and for not properly follow his instructions. If you see some error, please, comment it and we will correct it 😉
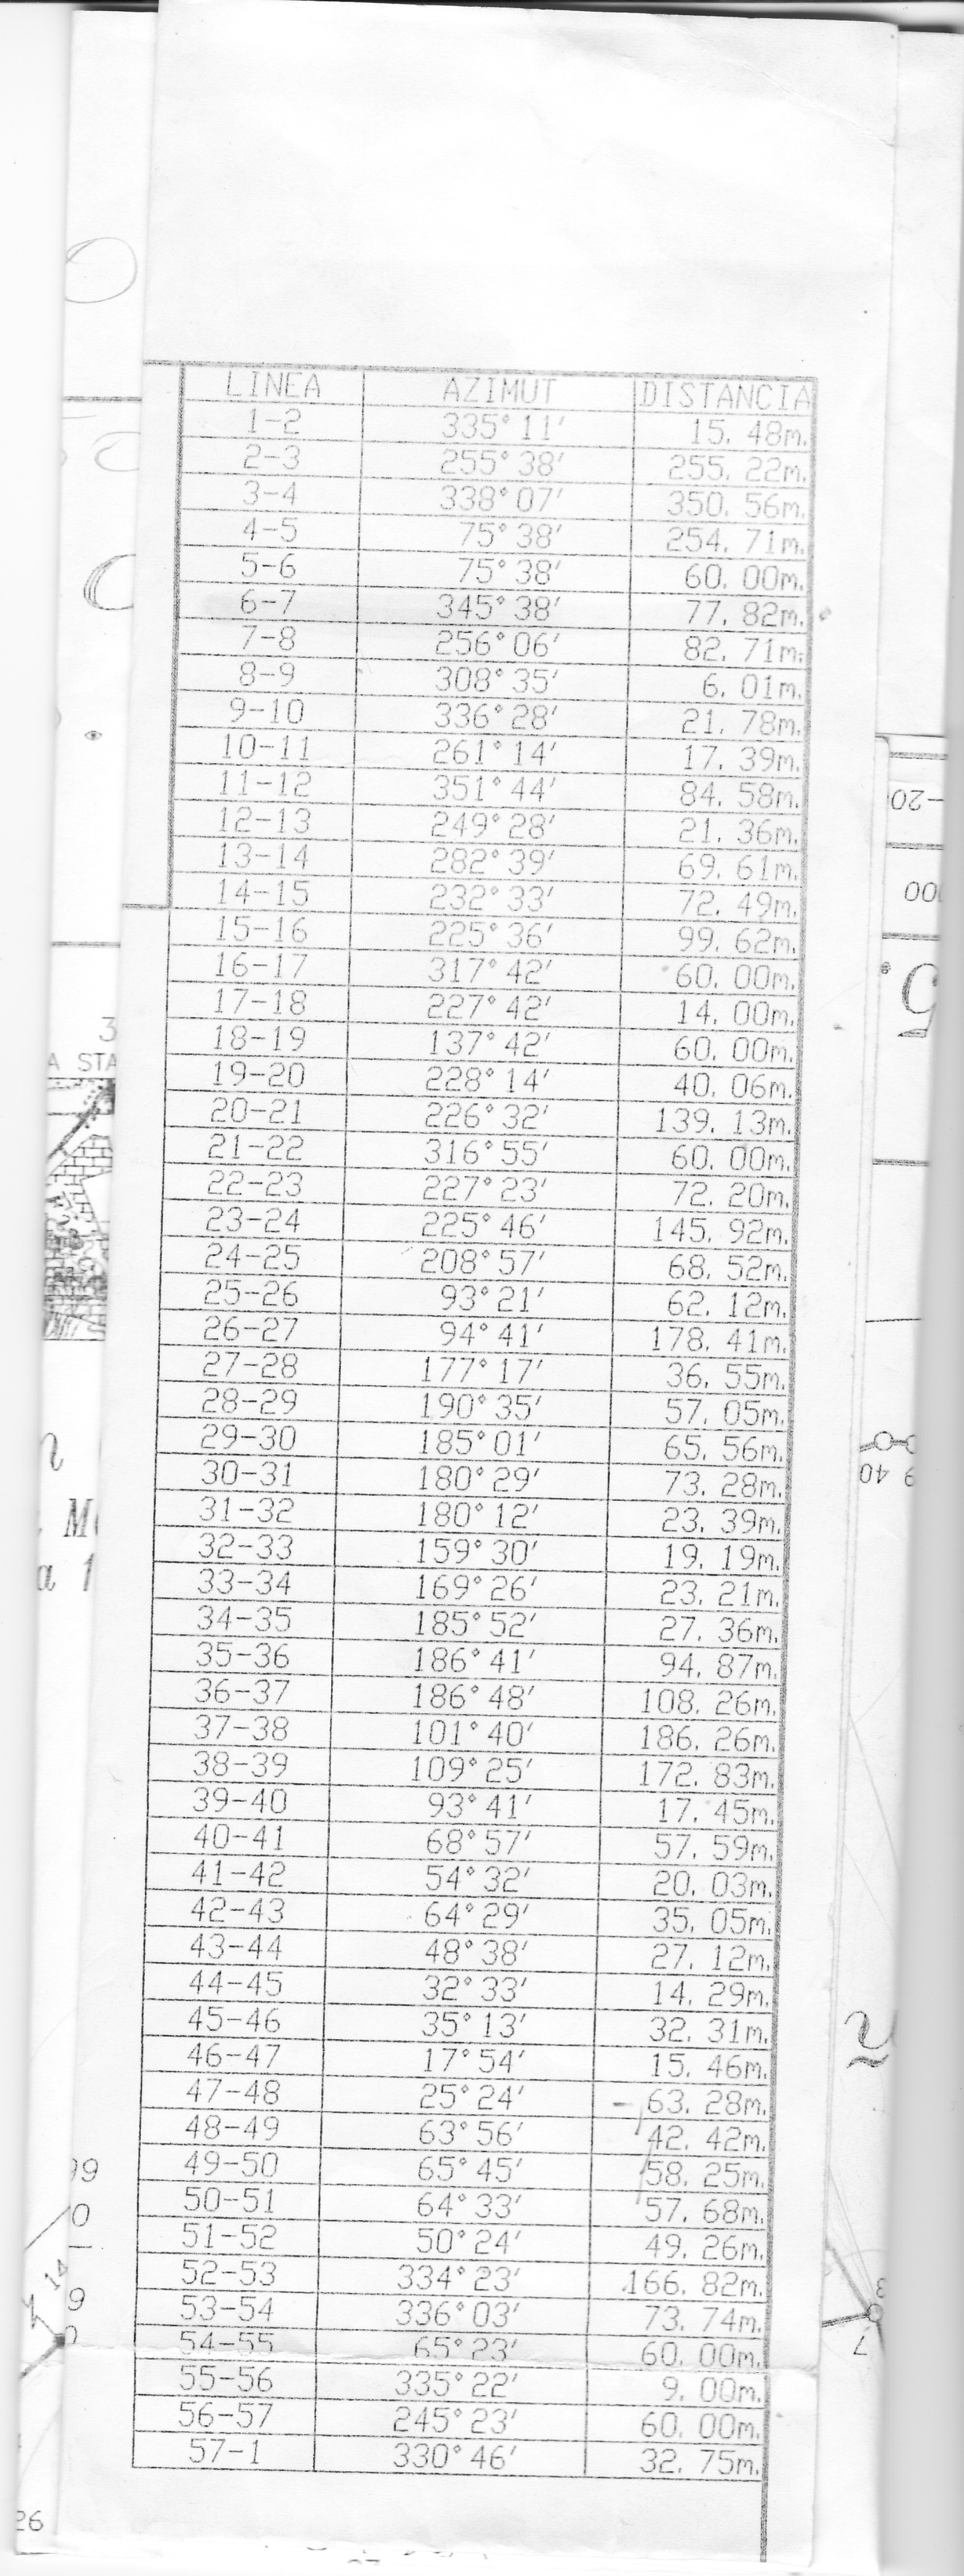
We start with a bearing or course that presents the data to the following structure LINE, AZIMUT, DISTANCE, being AZIMUT the angle direction in the sense counted clockwise from the geographic north (download rumbo.jpg).
The first thing to do is to save this file to a format that would be able to read from a script, this file we have created is a csv file that we named rumbo.csv (download rumbo.csv).
Once we have our file we have to think what we need to get its content into a shapefile. Obviously we’ll need a shapefile where to save the results and we’ll need to create the features to represent the data for including them on the shapefile. To create these features we’ll need to transform the polar coordinates (azimuth, distance) in rectangular coordinates (X, Y).
Some comments on that: Gustavo in his post recommend to make a representation of the data. This was very helpful to us.
In the script we will create a LINE shapefile and another one for POLYGONS. In the LINE type, we will keep heading data, data from coordinates transformation, and the resulting coordinates. In the POLYGONS shapefile will keep an identifier of the feature and a text field.
We start from a desktop gvSIG 2.0 (in my case I’ve used is build 2060 RC1) with the latest version of the scripting extension installed (currently the number 36).
Once we open the script editor (menu bar Tools / Scripting / Scripting Composer) we create a new script and start to write our script.
The first thing we’re going to do is to create the output layers using the function createShape from the gvsig module. The syntax of this function tells us that you need a data definition for the features, a route that is the place where to store the shapefile we are acreating, the projection of the shapefile, and the type of geometry that will contain. The definition of the data will be created using the function createSchema from the same gvsig module.
The source code, including comment would be:
import gvsig
import geom

def main():

'''
Create a polygon layer with the following data model:
    - 'ID', Integer
    - 'OBSERVACIONES', string
    - 'GEOMETRY', Geometry

Create a line layer with the following data model:
    - "ID", Integer
    - "LINEA", string
    - "GRADOS", long
    - "MINUTOS",long
    - "DISTANCIA", double
    - "RADIAN", double
    - "X", double
    - "Y", double
    - "GEOMETRY", Geometry
'''

#Set up the projection, it is the same for both layers
CRS="EPSG:32617"

#Create the object that represent the data model for the polygonal shapefile
schema_poligonos = gvsig.createSchema()

#Insert the filed from the data model
schema_poligonos.append('ID','INTEGER', size=7, default=0)
schema_poligonos.append('OBSERVACIONES','STRING', size=200, default='Sin modificar')
schema_poligonos.append('GEOMETRY', 'GEOMETRY')

#Set up the layer path. Remember changing it!!!
ruta='/tmp/rumbo-poligonos.shp'

#Create the shapefile
shape_poligonos = gvsig.createShape(
        schema_poligonos,
        ruta,
        CRS=CRS,
        geometryType=geom.SURFACE
    )

#Create the line shapefile

#Create the object that represent the data model for the line shapefile
schema_lineas = gvsig.createSchema()

#Insert the field from the data model
schema_lineas.append('ID','INTEGER', size=7, default=0)
schema_lineas.append('LINEA','STRING',size=50,default='')
schema_lineas.append('GRADOS','LONG', size=7, default=0)
schema_lineas.append('MINUTOS','LONG', size=7, default=0)
schema_lineas.append('SEGUNDOS','LONG', size=7, default=0)
schema_lineas.append('DISTANCIA','DOUBLE', size=20, default=0.0, precision=6)
schema_lineas.append('RADIAN','DOUBLE', size=20, default=0.0, precision=6)
schema_lineas.append('X','DOUBLE', size=20, default=0.0, precision=6)
schema_lineas.append('Y','DOUBLE', size=20, default=0.0, precision=6)
schema_lineas.append('GEOMETRY', 'GEOMETRY')

#Set up the layer path. Remember changing it!!
ruta='/tmp/rumbo-lineas.shp'

#Create the shapefile
shape_line = gvsig.createShape(
    schema_lineas,
    ruta,
    CRS=CRS,
    geometryType=geom.MULTILINE
)
Ok, we already have our output layers, now we are going to see how to get the data from csv file we created. Python has a module that allows csv csv file handling very comfortable ( python csv ). The source code for reading the csv file would be:
import csv
import os.path

#Set up the layer path for the CSV file. Remember changing it!!!
csv_file = '/tmp/rumbo.csv'

#Check that the file exists on the provided path
if not os.path.exists(csv_file):
  print "Error, el archivo no existe"
  return

#Open the file on read only mode
input = open(csv_file,'r')

#Create a reader object from the CSV module
reader = csv.reader(input)

#Read the file
for row in reader:
    #Print the line
    print ', '.join(row)
We already know how to create shapefiles and read csv files, the next step would be to create the features, so we must transform the polar coordinates to rectangular and it is at this point that for me things get a little dark so forgive the errors that you can find.
To make the coordinate transformation we’ll convert the decimal angle in radian angle. Gustavo in his post how to generate a polygonal (in Spanish) between the files to download you can find a PDF that provides an explanation of the calculations he made, if anybody has doubts I recommend to read it. I only want to clarify that we ‘ll use the python module python math to use math functions sine and cosine, needed to perform the transformation. In addition, our course uses relative coordinates, so we need a starting point and the code to calculate the new coordinates from the above ones. Our starting point is ( X= 361820.959424, Y = 1107908.627000). The source code would be:
"""
Convert decimal degrees, minutes, seconds to radian
"""
import math
#Define the “pi” value
PI = 3.1415926

x_ant = 361820.959424
y_ant = 1107908.627000

#Apply the equation and obtain the angle in radians
angulo = (degrees+(minutes/60.0)+(seconds/3600.0))*PI/180.0

#Convert the polar coordinates into rectangular ones

x_new = radio * math.sin(angulo)
y_new = radio * math.cos(angulo)

#Add relative coordinates values to get the next coordinate
x = x_new + x_ant
y = y_new + y_ant
The last piece of our puzzle is to learn how to create the features and their geometries. The layers that we created earlier shape_line and shape_polygons have a method called append that allows us to add the features to the layer. This method accepts a dictionary,
python dict that uses as key fields the ones we defined in the data structure of the layer (defined when we created it). The values are the ones that should have the feature. The geometries will be created using the geometric module geom from the scripting extension, in particular the createGeometry function, that needs the type of geometry to be created and the dimensions of the geometry. The code that we could use is:
geometry_multiline = geom.createGeometry(MULTILINE, D2)

values = dict()
values["ID"] = id #Calculated field for the registered number
values["LINEA"] = linea_id #First data of the course
values["GRADOS"] = grados #decimal degrees from the course
values["MINUTOS"] = minutos #decimal minutes from the course
values["SEGUNDOS"] = segundos #decimal seconds from the course
values["DISTANCIA"] = radio #Distance from the course
values["RADIAN"] = angulo #Radian angle calculated
values["X"] = x #X coordinate calculated
values["Y"] = y #Y coordinate calculated

shape_line.append(values)
At this point we have seen everything needed to get what we want from our original course, we only need to assemble the puzzle and the final result would be this:
The final source code can be downloaded from here .
We hope you enjoy that exercise as much as I do.
See you next time!

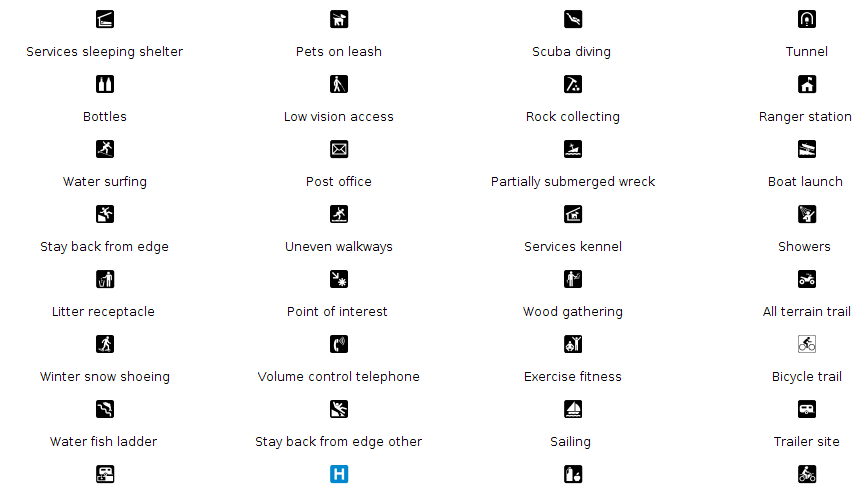
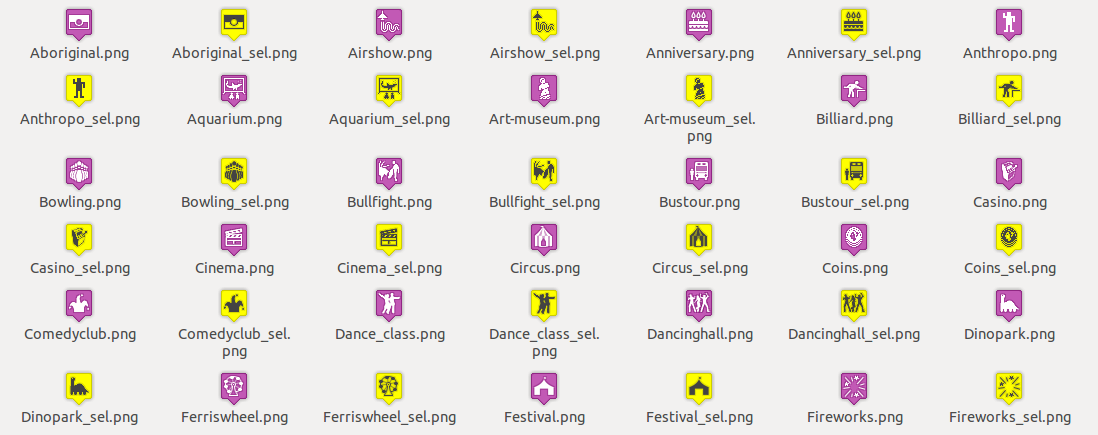
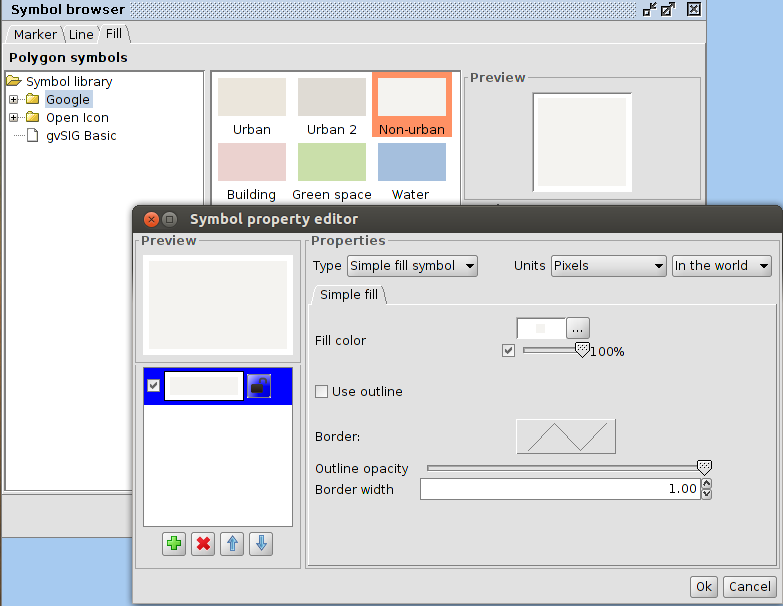
 Estos símbolos están diseñados para utilizarse con un tamaño de 32 píxeles -con el objetivo de resaltar su importancia en el mapa- por lo que los hemos importado a ese tamaño. Reduciéndolo a tamaños inferiores también se visualizan correctamente.
 Como símbolos de relleno, inspirados en el documento Biosecurity Emergency Management – Mapping Symbology:
 Ya sólo nos queda crear el paquete tal y como explicamos en este post.


