
The video of the seventeenth module is now available, where we will show the integration between gvSIG Desktop and gvSIG Mobile.
From now the certificate of the course about GIS applied to municipality management is available too, following the instructions indicated in this new post.
As we watched in the previous module, gvSIG Mobile plays an important role in the city council management, since it allows us to carry out census, inspections, inventory… management.
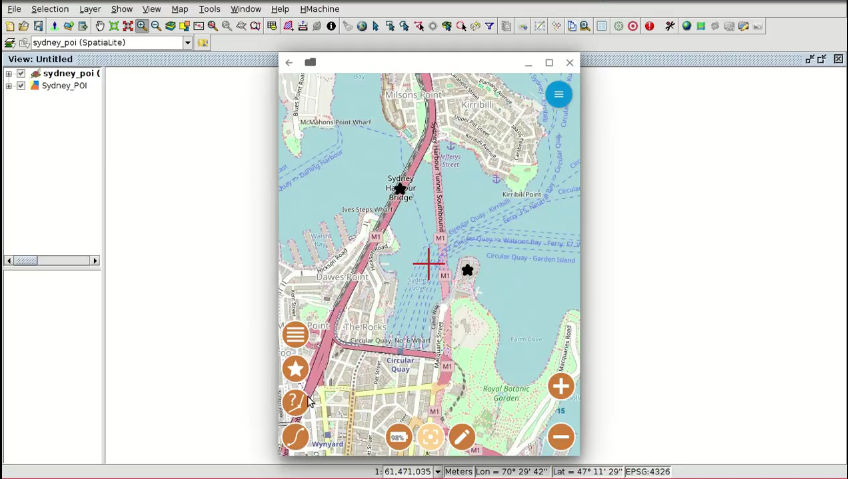
From gvSIG Mobile you can manage the inventory of a municipality (litter bins, lampposts, children’s parks …), and if there is an incidence in any of the elements, it won’t be necessary to describe the element to the technicians. The citizens would be able to go directly with their mobile, and locate the lamppost or litter bin to be repaired on the map in an easy way.
In this video we will explain how to create an empty layer in gvSIG Desktop, adding new fields to the attribute table, and we will export it to gvSIG Mobile. With the mobile application we will edit that layer, creating new elements (we can create a point, line or polygon layer), with or without using GPS, and we also can edit its alphanumeric information. Finally, we will export it to gvSIG Desktop in order to perform a more complete analysis.
As we told in the previous module, gvSIG Mobile is available for Android, and it can be downloaded for free from the Play Store.
In order to exchange files between both applications we will use the Spatialite databases, functionality that is available from gvSIG Desktop 2.4.
In a few days there will be a new plugin for that version that will allow to export and import complete projects (with notes, pictures …) between gvSIG Mobile and gvSIG Desktop, as well as to export a tile layer from gvSIG Desktop (an orthophoto or vector file) to gvSIG Mobile to be inserted as background. During the 3rd gvSIG Festival there will be a complete demonstration about the use of these new features.
Here you have the videotutorial of this module:
Related posts:
- Module 1: Differences between GIS and CAD
- Module 2: Introduction to reference systems
- Module 3: Views, layers, symbology, labelling
- Module 4.1: Attribute tables (alphanumeric information)
- Module 4.2: Attribute tables (joining tables)
- Module 5.1: Web services (Introduction to SDI)
- Module 5.2: Web services (Loading web services from gvSIG)
- Module 5.3: Web services (Non-standard services)
- Module 6: Add-ons manager
- Module 7.1: Editing (new layers, graphical and alphanumeric editing)
- Module 7.2: Editing (Derivative geometries)
- Module 8.1: Creation of point layers from tables (Geocoding: Points from a table with addresses)
- Module 8.2: Creation of point layers from tables (Event layers)
- Module 9: Hyperlink
- Module 10: How to convert cartography from CAD to GIS
- Module 11: Reprojecting vector layers
- Module 12: Geoprocessing
- Module 13: Layouts
- Module 14: Image georeferencing
- Module 15: gvSIG 3D
- Module 16.1: gvSIG Online (Publishing cartography, advanced editing…)
- Module 16.2: gvSIG Online (Basic editing, hyperlink…)
- Module 16.3: gvSIG Online (Connection with gvSIG Mobile and enumerations)


Pingback: GIS applied to municipality management: Certification and links to the complete course | gvSIG blog
Pingback: GIS applied to Municipality Management: Module 17 ‘gvSIG Mobile (Connection with gvSIG Desktop)’ – GeoNe.ws